Monday, January 30, 2017

ClassKick

Image result for classkick
Getting Feedback via ClassKick

One app I started using in my classroom this year is ClassKick.  I heard about this app a while back but I was reintroduced to it during some summer professional development training.  This program allows me to enter an assignment and then view my students' work.  The students can raise a virtual hand in order to get help or to ask the instructor to check an answer.  I have used this app before several of my summative assessments this year in order to give students more time to get help and receive feedback on their work.  Generally, I will run a "ClassKick" session on the night before a unit summative assessment for an hour or so.  These sessions haven't been as highly attended by students as I had initially hoped for, but I believe the students who attended got some much-needed one-on-one attention and were able to ask questions in order to gain a better understanding of the concepts we had been learning about in class.

With our most recent summative assessment, I tried to kick it up a notch.  Early in the week I had my students choose a problem to work on.  The students created a video using Explain Everything in order to walk us through the problem-solving process.  The students then uploaded these videos to YouTube and shared them in a Google Document.  I was able to take these videos and attach them to our summative review in ClassKick.  While students were working on the review and got stuck, they could view the video created by their classmates.  We had essentially created a class library of problem-solving strategies for the main concepts that we had talked about in class.  If students were still stuck on the problem, then they could raise their hand and get additional assistance.

I know there is also a feature in ClassKick that allows students to be able to work together and answer questions without solely relying on the teachers' expertise.  This is something that I would like to explore in future review sessions.

Wednesday, June 15, 2016

Communication Between Student and Teacher: I Need Help!

Help Notification

While at the Mobile Makers teacher training academy, I was re-introduced to a method for students to communicate with teachers.  They suggested the use of three colored indicators: green, yellow, and red.  The idea is that students can work independently on a project.  If the student gets stuck and cannot continue without help, they display the red indicator.  This lets the teacher know they need to give the student attention soon.  If a student dispays the yellow indicator, this communicates that the student needs help or has a question but can still continue with their program for a while.  If a student displays the green indicator, this communicates that the student is finished.  Students who complete a task and display the green indicator can then go assist other students who display a red or yellow indicator.

As far as the indicators go, in class we've been using foam balls (think red and green clown noses) that can be hooked on to the edge of a computer monitor.  The instructor, Brian Mathien, shared with us that he uses different colored clips that the students can hook on the edge of their computers.  I have heard of this technique while at another education conference and the students displayed different colored cards.

I think this is a great technique and I plan to use it in my programming class.  I would also like to use this in my math classes.  I see it as a great way for the students to give feedback about their current level of understanding.  It also allows the teacher to focus more attention where it is most needed.

Tuesday, June 14, 2016

Introducing a New Programming Technique: Driver and Navigator

One of the things that I learned about while at the Mobile Makers teacher training academy in Chicago was a new technique for learning about programming.  In the past when I taught a new programming concept, I would talk a little bit about it and then show the students how to apply it.  The students would then copy down my code onto their own computers to see if it works.  I often found that I might be going too fast for some of my students.

A new technique that I learned about assigns different roles for students in order to keep students more engaged and to help increase student understanding.  Rather than typing in the sample code myself into the display computer, I could assign one student to be a "driver" for the example.  While this student is "driving", all other students would need to turn away from their devices and pay attention to the app creation.  My role would then be to "navigate" this student through how to create the app.  This would cause me to verbalize my thinking more and could give students more insight into what they are doing and why.  This also would dramatically slow down my explanation.  Once the "driver" has completed a few lines of code, I would then ask the rest of the class to turn back to their devices and recreate the code we wrote together.  We would continue this pattern of watching the "driver" and then trying the code on their own.


This technique can also be applied when students are working together.  Students can work in pairs where one is the driver and the other is the navigator.  The driver is the only student who can touch the keyboard.  The navigator dictates the next steps to take.  The students switch roles often so that both are contributing to the problem-solving process and one student doesn't take over.

Mobile Makers Teacher Academy: Pre-Course Work

This week I began my two-week training at Mobile Makers in Chicago to learn the Swift programming language.  My school district would like to encourage more students to get involved with computer science.  They looked into several different options, and we decided that since we are a 1:1 iPad school district, we would like to teach our students how to program for iOS devices using the Swift programming language.

Before arriving at the training program, we were asked to complete some pre-course work.  Through this pre-course work, we were exposed to some of the syntax and structures associated with the Swift programming language.  During this work, I read through some different resources, watched some screencasts, and completed two apps.


Hello World

The typical introductory program for someone learning a new language is the "Hello World" app.  The app requirements allowed me to create some different text fields, labels, buttons, and images.  Through this app, I was able to work with variables and I learned to how to create a link between items in the storyboard (text fields, labels, etc) with the code.


Multiply

The second app for the pre-course work was called "Multiply".  In this app, I was able to create a simple calculator.  The app user is able to type in two numbers and choose to add, subtract, multiply or divide.  Based on the answer, a different picture appears.  This app introduced me to concepts such as the segmented controller and the syntax of a "switch" case.  The switch case allowed me to efficiently calculate the sum, different, product or quotient based on which segment was selected in the segmented controller.


Wednesday, September 10, 2014

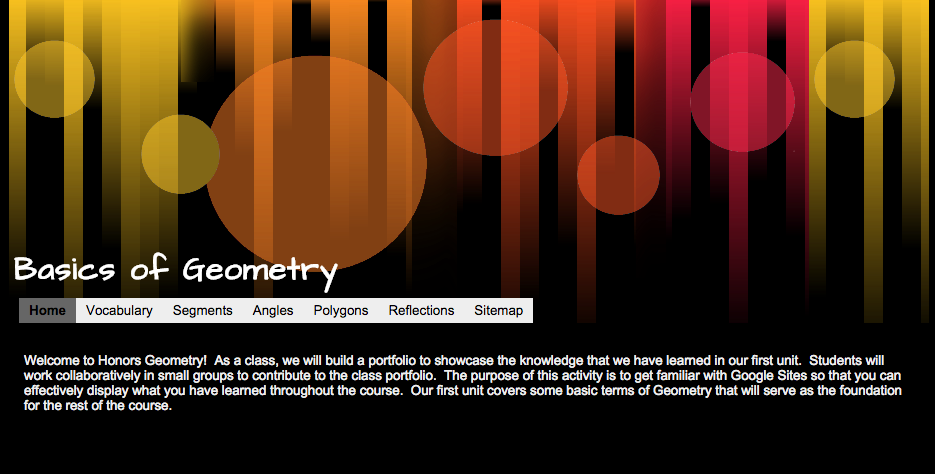
Class Review with Google Sites

This summer I took a read for credit class called "Teaching on the Education Forefront".  In this class I learned a lot about blended and online classes.  One of the activities described in the textbook was to have students create a website together.  I decided to have my Geometry students create a Google
Site to review all of the important concepts that we have learned about in our first unit on Basic Geometric terms.

I set up a website template through Google Sites earlier this summer and shared it with my students this week.  I split my class into seven groups and assigned a few concepts to each group.  As the different groups were working on the shared site, students found that they were overwriting each other's work.  As far as we could tell, it was only safe for one student to add to a page at a time.  Otherwise, not all content was added to the site.  I had to go back to the drawing board.  Instead of having students add their content directly to the website I instead created a series of Google Documents filled with tables that I embedded into the site.  Multiple users are able to type into the document at once, creating a truly collaborative experience.

The groups were responsible for reviewing different vocabulary terms.  Each vocabulary term needed to include a technical definition, the definition in student friendly terms, and a picture.  Additionally, students were asked to write sample problems and work them out through a video created through the Explain Everything app.  This was our first time using Google Sites in class as well as the first time many of my students have used the Explain Everything app.  Overall, students seemed to enjoy this activity.  It is my hope that students will use this site as a reference as they prepare for our upcoming summative assessment.


Geometric Vocabulary with TPR

In August I attended Waukesha's Personalized Summer Institute.  While at the summer institute I attended a class in Metalinguistics.  In this class I learned about TPR activities: Total Physical Response.  In these activities, students physically act out new vocabulary in order to improve recall and comprehension.  As I started to think about how I could use this type of activity in my math classroom I immediately thought of the basic vocabulary that I need to teach my Geometry students at the beginning of the year.  I came up with a series of movements that would help my students better understand basic Geometric terms and labeling conventions.  I created actions to go along with terms such as Point, Line, Plane, Collinear Points, Ray, different ways to classify angles, as well as a few others.  You can check out some of the symbols in my TPR presentation that I have posted online:


I wasn't sure how my students would respond to this activity, but they seem to enjoy it.  I have lead my classes through the TPR activity several times and have even had a few students volunteer to lead to the group.  It is my hope that this activity will increase student understanding of our basic Geometric concepts when we take our first summative assessment.


Thursday, February 13, 2014

Programming with MIT App Inventor

This semester I'm taking a new approach to my Fundamentals of Programming class.  After talking with a colleague from another school, we decided that we needed to revamp our Computer Science program.  We needed to find a "hook" to get students interested in the possibilities of programming without getting overwhelmed by the code.  Over the summer I heard about a program called "MIT App Inventor" that offered a highly visual and block-based code.  Students are able to create a basic app for an Android device within one class period....plus the program is FREE!  We're almost three weeks into the semester and things are going pretty well.

The first app we tackled was the "Hello Purr" app.  It's pretty basic, as far as apps go, but the students are pretty excited to be creating their own functional apps.  (Not many of my students own Android devices, so they're not overly excited.  But their excited nonetheless.)  Students create a button that looks like the picture of a cat.  When the button is tapped, a "meow" sound plays and the phone vibrates to simulate purring.  When the phone shakes the same "meow" sound plays.  Students can test of their app on their own Android device or use the emulator.  This app, while very basic, has opened the door to important discussions about properties, variables, events, and event handlers.  When I taught this class in the past as a strictly code-based class in Java, it took us weeks before we could talk about variables and much longer before we were able to create and define our own event handlers.  Now, we're broaching the subject within the first week of class.

To go along with the class, students are creating a Google Site portfolio to house all of their apps.  They include screen shots of the visual design of the app, a peek at the blocks of code, a brief description of their app, and a QR code so that people that visit their site can download the app to their Android device.  The site also contains information about some of the terms and concepts we've learned about while creating the app.  Students will create and maintain this site throughout the semester.

While making the transition to this new program we've run into some glitches.  Only a few students are able to get their "emulator" to work.  We're still working on these issues and we hope to have them resolved shortly.